Homemade Pumpkin Puree
I’ll never forget the first time I decided to make Homemade Pumpkin Puree from scratch. It was a crisp October afternoon, and I’d just hauled a couple of pie pumpkins home from the local farmers’ market, thinking I’d impress my family with a “from-the-ground-up” pumpkin pie for Thanksgiving. Let me tell ya, I had no idea what I was in for, but the end result—silky, rich Homemade Pumpkin Puree—was worth every messy minute. Now, years later, I can’t imagine using canned stuff when making Homemade Pumpkin Puree is this easy and rewarding.
You see, there’s something downright magical about transforming a humble pumpkin into a velvety base for pies, soups, or even lattes. I’ve tweaked and tested this process in my kitchen countless times, and I’m thrilled to share all my tips for creating your own Homemade Pumpkin Puree. Whether you’re a newbie or a seasoned home cook, stick with me, and I’ll walk you through every step.
Why You’ll Love This Recipe
I’ve found that making Homemade Pumpkin Puree isn’t just about the end product—it’s about the whole experience. The aroma of roasting pumpkin filling your kitchen, the satisfaction of doing it yourself, and the unbeatable fresh flavor make it a total game-changer. Plus, it’s way more versatile than you might think!
In my kitchen, Homemade Pumpkin Puree has become a fall staple, and I bet it’ll be the same for you. It’s budget-friendly, customizable, and honestly, it just tastes better than the store-bought kind. Trust me, once you try it, you’ll be hooked on Homemade Pumpkin Puree for all your autumn recipes!
Ingredients List
Let’s talk about what you’ll need to whip up some stellar Homemade Pumpkin Puree. I prefer using smaller pie pumpkins (sometimes called sugar pumpkins) because they’re sweeter and less fibrous than the big carving ones. Honestly, the variety matters, so I usually hunt for these at my local market or grocery store in the fall.
Here’s the short and sweet list for making Homemade Pumpkin Puree, with everything measured out to keep things simple:
- 2 medium pie pumpkins (about 4-5 pounds total), washed and dried for easy handling
- 1 tablespoon (15ml) olive oil, optional, for roasting to enhance flavor
- Pinch of salt, optional, to bring out the natural sweetness
That’s it! No fancy extras needed for Homemade Pumpkin Puree, though I’ve been known to sprinkle a little cinnamon on the pumpkin halves before roasting if I’m feeling festive. I usually buy organic pumpkins when I can, just ‘cause I like knowing there’s no weird stuff on the skin (even though we’re not eating it).
Keep it basic or tweak it your way—this recipe for Homemade Pumpkin Puree is super forgiving.
Now, a quick note: don’t grab those giant jack-o’-lantern pumpkins if you can help it. They’re stringy as heck and won’t give you the smooth texture you want. Stick with the smaller ones, and you’re golden.
Variations
One of the things I adore about making Homemade Pumpkin Puree is how easy it is to play around with flavors and methods. Over the years, I’ve tried a bunch of twists depending on what I’m using the puree for, or just what I’m craving. Here are some variations that’ll jazz up your Homemade Pumpkin Puree game.
- Sweet Spiced Puree: Toss in 1 teaspoon of cinnamon and a pinch of nutmeg before roasting for a warm, pie-ready vibe.
- Savory Herb Blend: Add a sprig of fresh rosemary or thyme to the baking tray for an earthy kick—perfect for soups.
- Maple Glaze: Drizzle 1 tablespoon of maple syrup over the pumpkin halves pre-roast for a subtle sweetness. I tried this once and couldn’t stop sneaking spoonfuls!
- Garlic Infusion: Rub a smashed garlic clove on the flesh before cooking for a savory depth—great for risottos.
- Brown Sugar Caramelized: Sprinkle 1 tablespoon of brown sugar on each half to caramelize as it roasts. My kids always ask for this version!
- Smoky Twist: Add a pinch of smoked paprika post-roast for a subtle smokiness that pairs well with chili recipes.
- Boiled Method: Skip roasting and boil peeled pumpkin chunks if you’re in a hurry. It’s not my fave, but it works for Homemade Pumpkin Puree in a pinch.
- Instant Pot Hack: Cook halved pumpkins in an Instant Pot on high pressure for 10 minutes for a faster Homemade Pumpkin Puree. I’ve done this when I’m slammed, and it’s a lifesaver.
Feel free to experiment with these ideas for Homemade Pumpkin Puree. I’m all about making it your own, so tweak away!
Servings and Timing
Let’s break down how much Homemade Pumpkin Puree you’ll get and how long it’ll take. In my experience, timing depends a bit on your oven and pumpkin size, but I’ve got a solid estimate for you. Here’s the rundown for planning your kitchen adventure with Homemade Pumpkin Puree.
- Prep Time: 10 minutes
- Cook Time: 45-60 minutes
- Total Time: About 1 hour 10 minutes
- Servings: Yields roughly 4-5 cups of Homemade Pumpkin Puree
I usually carve out (pun intended!) a lazy weekend afternoon for this, but you can totally fit it into a busy day if you multitask. That’s the beauty of it!
Step-by-Step Instructions
Alright, let’s roll up our sleeves and get into making Homemade Pumpkin Puree. I’ve broken this down into simple steps, with little tricks I’ve picked up over the years. Follow along, and you’ll have a batch of Homemade Pumpkin Puree ready in no time.
Step 1: Prep the Pumpkin
First things first, preheat your oven to 400°F (200°C). Grab your pie pumpkins, give ‘em a good rinse, and pat them dry. Using a sharp knife (be careful here!), slice each pumpkin in half from stem to base, then scoop out the seeds and stringy bits with a spoon—I save the seeds for roasting later ‘cause they’re a tasty snack.
Step 2: Season and Roast
Lay the pumpkin halves cut-side up on a baking sheet lined with parchment for easy cleanup. I like to brush a tiny bit of olive oil on the flesh to keep it moist, but that’s optional. Pop them in the oven for 45-60 minutes until the flesh is fork-tender—trust me, don’t rush this step for the best Homemade Pumpkin Puree.
Step 3: Cool and Scoop
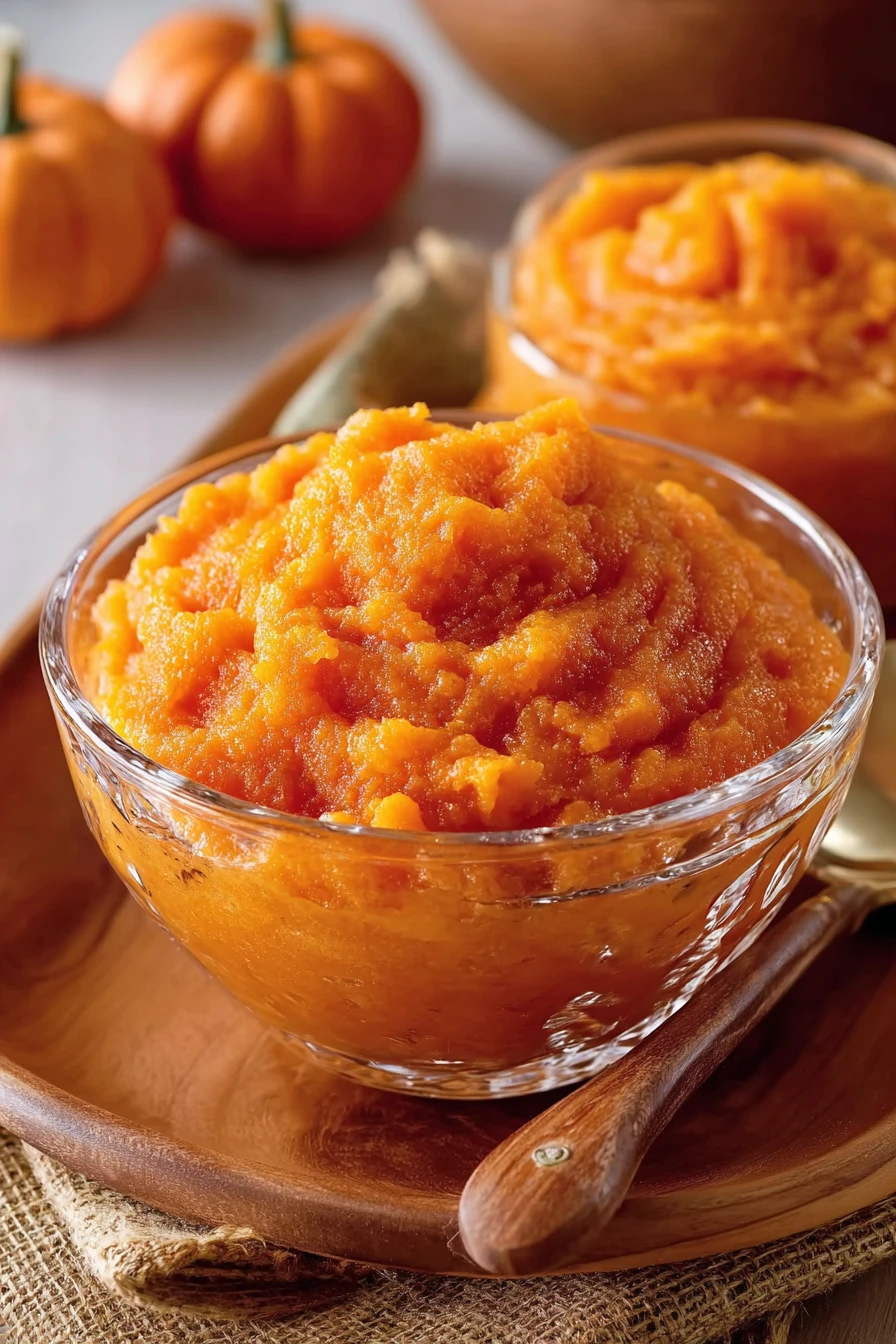
Once they’re out of the oven, let the halves cool for about 10 minutes so you don’t burn your fingers (been there, done that). Scoop the soft flesh into a bowl, leaving the skin behind. This part feels like pure kitchen magic every time I do it for Homemade Pumpkin Puree.
Step 4: Blend It Smooth
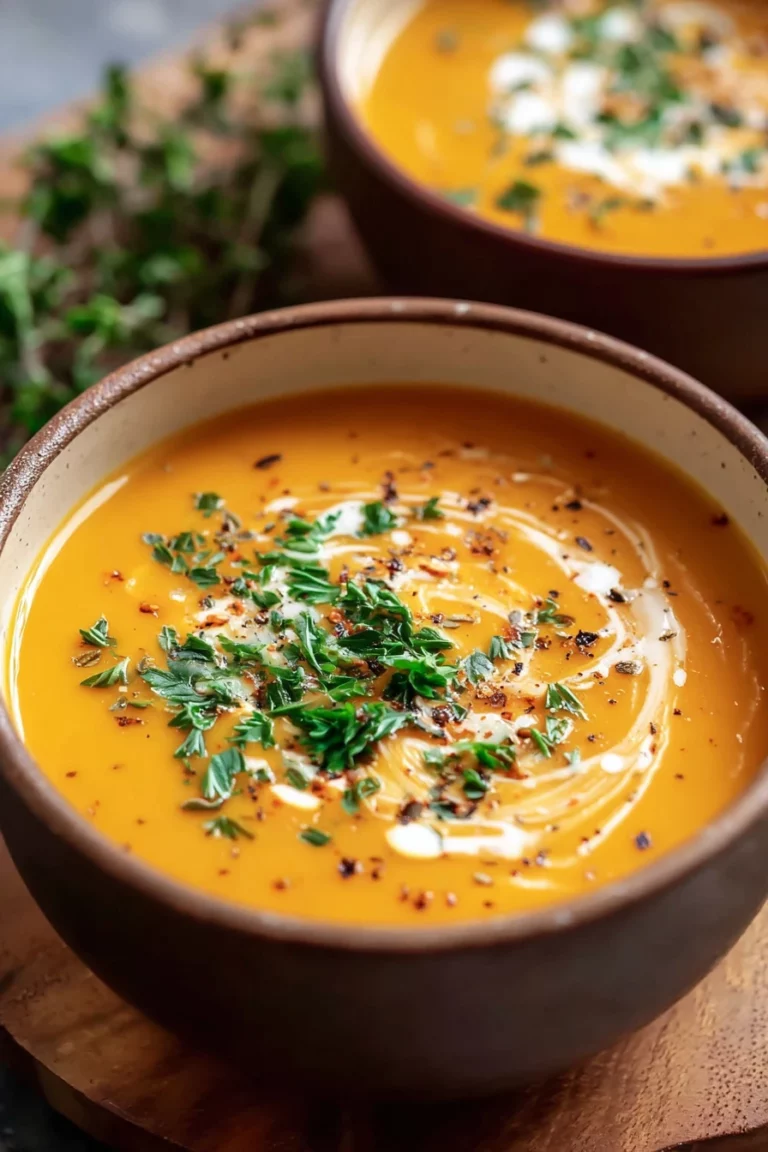
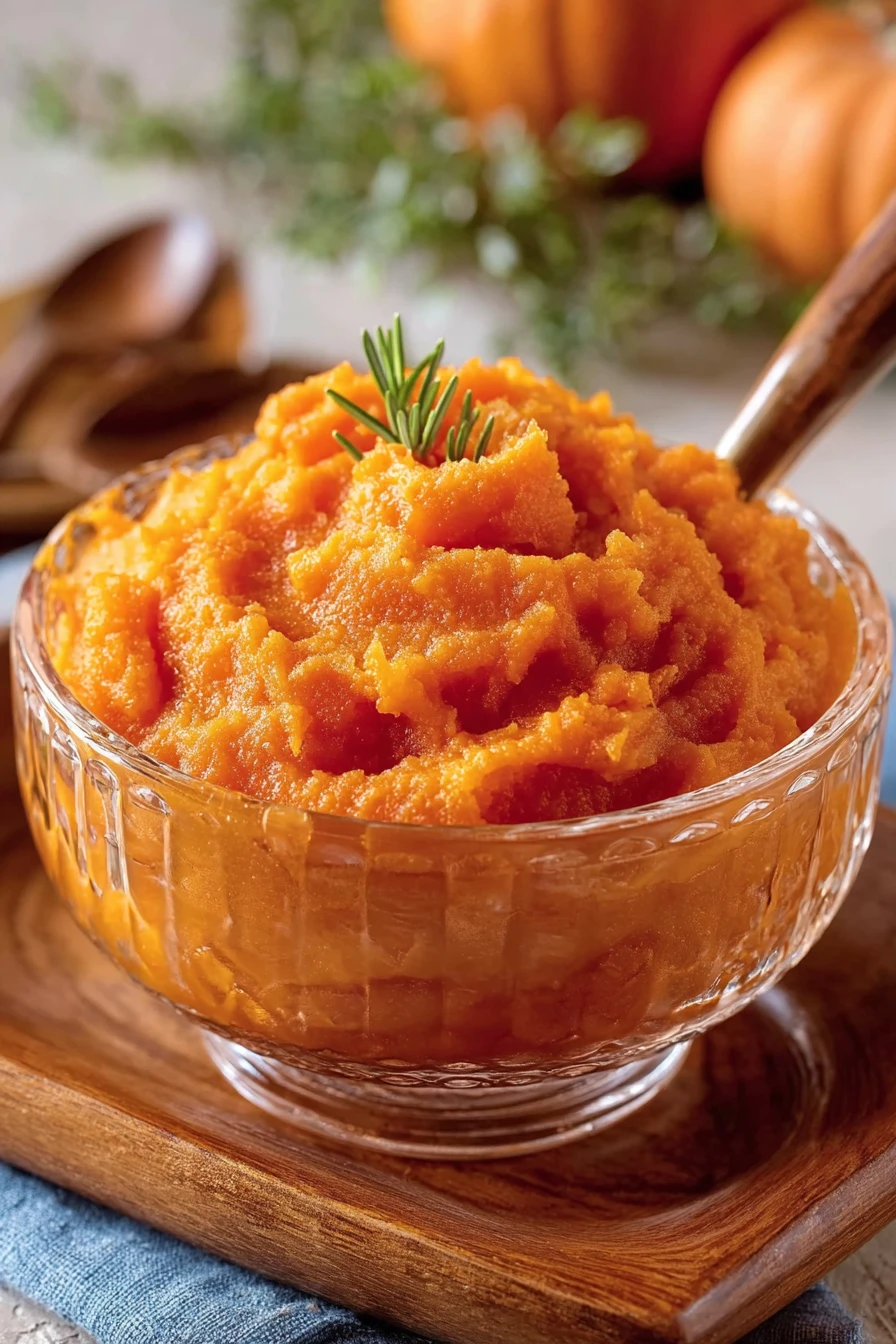
Transfer the pumpkin flesh to a food processor or blender, and puree until it’s silky. I sometimes add a splash of water if it’s too thick, but usually, it’s good to go. And there you have it—fresh, gorgeous Homemade Pumpkin Puree ready for anything!
Step 5: Strain if Needed
If your puree looks watery (some pumpkins are juicier than others), strain it through a cheesecloth or fine mesh sieve for a thicker texture. I’ve skipped this step plenty of times for soups, but for baking, it’s a must for perfect Homemade Pumpkin Puree.
Nutritional Information
I’m no dietitian, but I love knowing what’s in my food, especially with something as wholesome as Homemade Pumpkin Puree. Here’s a rough breakdown per cup, based on what I’ve researched and used in my kitchen. Keep in mind, this is for plain Homemade Pumpkin Puree without added seasonings or sweeteners.
- Calories: 80 per cup
- Fat: 0.2g
- Protein: 2g
- Carbohydrates: 20g
- Sodium: 5mg
It’s naturally low in fat and packed with vitamin A, which is why I feel good using Homemade Pumpkin Puree in everything from baby food to desserts. Pretty neat, right?
Healthier Alternatives
If you’re looking to lighten things up or switch flavors, I’ve got some swaps for making Homemade Pumpkin Puree that I’ve tried and loved. These tweaks keep the recipe nutritious while mixing things up a bit. Here are a few ideas for a healthier take on Homemade Pumpkin Puree.
- No-Oil Roasting: Skip the olive oil if you’re cutting fat—it roasts fine without it, though the edges won’t caramelize as much.
- Butternut Squash Swap: Use butternut squash instead of pumpkin for a similar texture with slightly fewer carbs. I’ve done this when pumpkins were out of season.
- Steaming Method: Steam the pumpkin chunks instead of roasting to retain more nutrients. It’s a tad less flavorful, in my opinion, but still great for Homemade Pumpkin Puree.
- No Salt: Omit the pinch of salt if you’re watching sodium—it’s barely noticeable in the final Homemade Pumpkin Puree anyway.
Serving Suggestions
Now that you’ve got a batch of Homemade Pumpkin Puree, let’s talk about how to enjoy it. I’ve got a few go-to ways I serve this up, depending on the mood or occasion. Here are some ideas to inspire you with your Homemade Pumpkin Puree.
- For Breakfast: Swirl it into oatmeal with a drizzle of honey—pure cozy vibes!
- As a Side: Mix with a bit of butter and cinnamon for a simple, sweet side dish at dinner.
- In Baking: Use it as the base for pumpkin bread or muffins—my family devours these.
- For Dessert: Whip up a classic pumpkin pie with your Homemade Pumpkin Puree—nothing beats it at Thanksgiving!
Common Mistakes to Avoid
I’ve flubbed my fair share of batches of Homemade Pumpkin Puree over the years, so let me save you some headaches with these pitfalls. Trust me on this one—I learned the hard way! Here’s what to watch out for when making Homemade Pumpkin Puree.
- Wrong Pumpkin Type: Don’t use carving pumpkins—they’re watery and stringy. I made this mistake once, and the texture was a disaster.
- Under-Roasting: If it’s not fork-tender, your puree will be lumpy. Give it the full time!
- Skipping the Cool-Down: Scooping hot pumpkin is a recipe for burns—let it sit a bit for safe handling with Homemade Pumpkin Puree.
- Not Straining: If it’s too watery, your recipes will suffer. I’ve ruined a pie or two by skipping this step.
Storing Tips
Once you’ve made your Homemade Pumpkin Puree, you’ll wanna store it right to keep that fresh flavor. I’ve found these methods work best in my experience. Here’s how to stash your Homemade Pumpkin Puree for later.
- Refrigerator: Keep it in an airtight container for up to 5-7 days.
- Freezer: Portion into freezer bags (I do 1-cup portions) and freeze for up to 10-12 months.
- Canning: If you’re into canning, pressure-can Homemade Pumpkin Puree following safe guidelines for long-term storage.
Frequently Asked Questions
I get a bunch of questions about making Homemade Pumpkin Puree, so I’ve rounded up the most common ones. Let’s dive into these quick Q&As!
Can I use canned pumpkin instead of making Homemade Pumpkin Puree?
Sure, you can, but it won’t have the same fresh flavor. I think Homemade Pumpkin Puree is worth the effort, especially for special dishes.
How do I know if my pumpkin is ripe?
Look for a deep orange color and a hard, firm skin. If it sounds hollow when tapped, you’re good to go!
Can I make Homemade Pumpkin Puree without an oven?
Yup, try boiling or steaming the chunks, or use an Instant Pot. It’s not quite as flavorful, but it works.
Is Homemade Pumpkin Puree safe for babies?
Absolutely, as long as it’s plain with no additives. I’ve fed it to my little ones with no issues—just check with your pediatrician first.
How much puree does one pumpkin yield?
It varies, but a 2-pound pie pumpkin usually gives me about 2 cups. Weigh ‘em at the store for a rough idea.
Can I add sugar while roasting?
You can! I sometimes sprinkle brown sugar for a sweeter batch, especially for desserts.
Why is my puree watery?
Some pumpkins are juicier—strain it through cheesecloth to thicken it up. I’ve had this happen plenty of times.
Can I reuse the pumpkin seeds?
Heck yeah, rinse ‘em, toss with oil and salt, and roast at 300°F for a crunchy snack. My family fights over these!
Conclusion
So, there you have it—everything I’ve learned about making Homemade Pumpkin Puree over the years. I hope you’re as excited as I am to turn those fall pumpkins into something amazing. Give this a shot, and let me know how your batch of Homemade Pumpkin Puree turns out—I’d love to hear about it, or even see pics of your creations with Homemade Pumpkin Puree!
Conclusion
I hope you enjoyed this recipe for Homemade Pumpkin Puree! It’s truly one of my favorites, and I’m confident you’ll love it too. Remember to follow the steps carefully for the best results. Don’t hesitate to experiment with your own variations and make this recipe your own.
Happy cooking!


