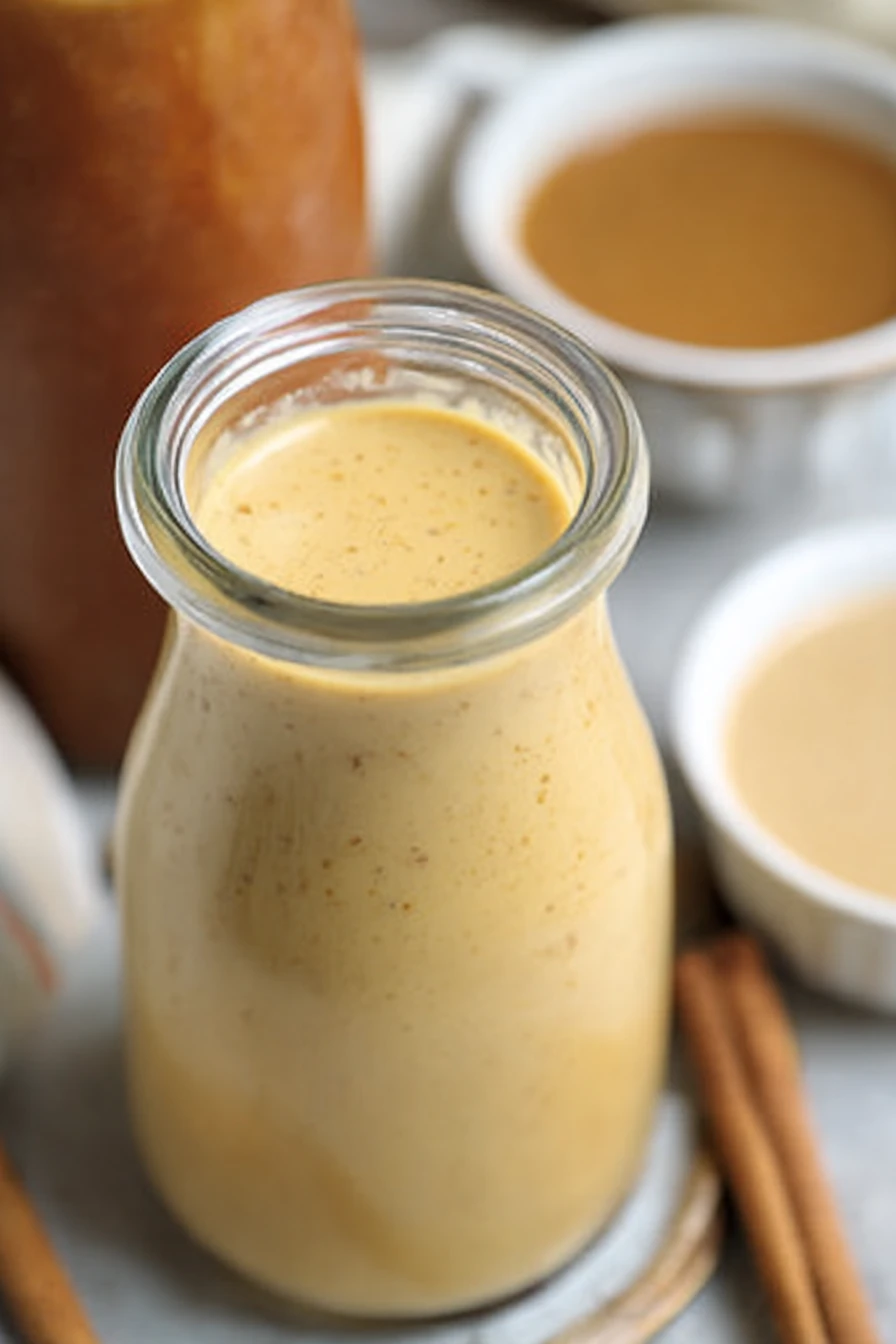
Homemade Pumpkin Coffee Creamer
Fall is my absolute favorite season, and nothing screams autumn like the cozy flavors of pumpkin spice swirling through my morning coffee. I stumbled upon the idea of making Homemade Pumpkin Coffee Creamer a few years back when I got tired of shelling out big bucks for store-bought versions that were packed with stuff I couldn’t even pronounce.
Let me tell you, the first time I whipped up a batch of this Homemade Pumpkin Coffee Creamer, my kitchen smelled like a pumpkin pie bakery, and I was hooked!
My family loves it too. My husband, who’s usually a black coffee purist, couldn’t resist sneaking a splash of this Homemade Pumpkin Coffee Creamer into his mug. And honestly, who could blame him?
It’s not just about the taste, though; it’s about those little moments of warmth and comfort. So, if you’re craving a way to level up your coffee game this season, stick with me—I’ve got all the tips and tricks to make your own Homemade Pumpkin Coffee Creamer right at home.
Why You’ll Love This Recipe
I’ve found that this Homemade Pumpkin Coffee Creamer is a total game-changer for anyone who loves fall flavors but doesn’t want the hassle of complicated recipes. It’s super easy to whip up, and in my kitchen, it’s become a staple from September straight through to Thanksgiving. Plus, you get to control what goes into it—no weird additives here!
What really seals the deal for me is how customizable it is. Whether you’re a pumpkin spice fanatic or just dipping your toes into autumn vibes, this Homemade Pumpkin Coffee Creamer can be tweaked to your liking. Trust me, once you try it, you’ll wonder why you ever settled for the store-bought stuff!
Ingredients List
Let’s talk about what you’ll need to make this Homemade Pumpkin Coffee Creamer. I’m all about keeping things simple, so these are ingredients you probably already have in your pantry—or can grab on a quick grocery run. I prefer using high-quality stuff where I can, especially for the pumpkin puree, because it makes a difference in the final flavor.
I usually buy organic canned pumpkin puree, but if you’ve got homemade on hand, even better! Here’s the full breakdown for your Homemade Pumpkin Coffee Creamer, with exact measurements to keep things foolproof. This makes about 2 cups of creamer, enough to last a week (if you don’t guzzle it all in a day like I sometimes do).
- 1 cup (240ml) heavy cream, for that rich, velvety texture
- 1 cup (240ml) whole milk, though you can swap for 2% if you’re watching fat
- 1/2 cup (120g) canned pumpkin puree, pure pumpkin, not pie filling
- 1/3 cup (65g) brown sugar, for a warm, caramel-y sweetness
- 1 teaspoon pumpkin pie spice, or mix your own with cinnamon, nutmeg, and cloves
- 1 teaspoon vanilla extract, for a smooth finish
- Pinch of salt, just to balance the flavors
These basics come together to create a Homemade Pumpkin Coffee Creamer that’s pure magic in a mug. Now, let’s get into some fun ways to switch it up!
Variations
One of the things I adore about this Homemade Pumpkin Coffee Creamer is how easy it is to play around with the recipe. I’ve tried a bunch of twists over the years, depending on my mood or what’s in the pantry. Here are some variations that have worked like a charm in my kitchen for tweaking your Homemade Pumpkin Coffee Creamer.
- Maple Magic: Swap the brown sugar for 1/4 cup of real maple syrup for a deeper, woodsy sweetness.
- Spiced Up: Add an extra 1/2 teaspoon of cinnamon and a pinch of cayenne for a little kick—trust me, it’s unexpected but amazing!
- Vanilla Boost: Double the vanilla extract if you’re a vanilla lover like me; it rounds out the pumpkin nicely.
- Coconut Dream: Replace the heavy cream with full-fat coconut milk for a tropical twist on Homemade Pumpkin Coffee Creamer.
- Sugar-Free Vibes: Use a sugar substitute like stevia or monk fruit sweetener, about 1-2 tablespoons to taste.
- Extra Pumpkin Punch: Bump up the pumpkin puree to 3/4 cup if you’re all about that gourd life.
- Mocha Mix: Stir in 1 tablespoon of cocoa powder for a chocolate-pumpkin fusion—my kids always ask for this one!
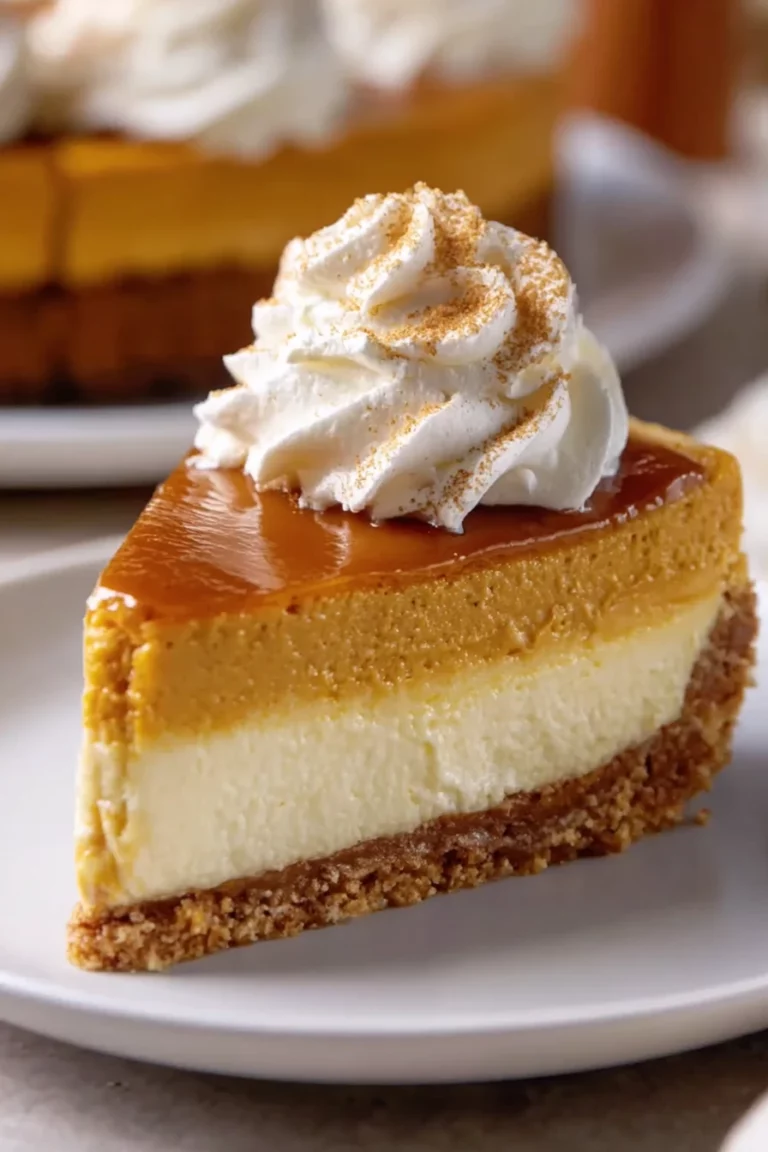
- Caramel Craze: Drizzle in 2 tablespoons of caramel sauce for a dessert-like Homemade Pumpkin Coffee Creamer.
I tried the coconut version once during a dairy-free phase, and I gotta say, it was a total surprise hit at brunch. Which one are you itching to try for your Homemade Pumpkin Coffee Creamer?
Servings and Timing
Let’s break down the nitty-gritty of servings and timing for this Homemade Pumpkin Coffee Creamer. In my experience, this recipe is perfect for a small household or for prepping ahead for a cozy week of fall mornings. Here’s what you can expect when you whip up a batch of Homemade Pumpkin Coffee Creamer.
- Prep Time: 5 minutes
- Cook Time: 10 minutes
- Total Time: 15 minutes
- Servings: About 16 servings (2 tablespoons each)
It usually takes me just a quick 15 minutes to get this done, even on a busy morning. That’s the beauty of it—fast, simple, and ready to elevate your coffee game!
Step-by-Step Instructions
Making Homemade Pumpkin Coffee Creamer is a breeze, and I’m gonna walk you through it step by step. I’ve made this so many times, I’ve got a few little tricks up my sleeve to make it foolproof. Let’s get started!

Step 1: Gather Your Ingredients
First things first, grab all your ingredients and a medium saucepan. I like to measure everything out beforehand because, let’s be real, I’ve forgotten the sugar once or twice mid-stir and had to scramble. Having it all ready keeps the process smooth as butter.
Step 2: Combine and Heat
Pour the heavy cream, milk, pumpkin puree, and brown sugar into the saucepan. Set it over medium-low heat and whisk it gently. You don’t want it to boil—just warm enough to meld all those flavors into a dreamy Homemade Pumpkin Coffee Creamer.
Step 3: Spice It Up
Once it’s warm (about 5 minutes), add the pumpkin pie spice, vanilla extract, and that tiny pinch of salt. Stir it well—I usually give it a good “get in there” whisk to make sure no clumps of spice are hiding. This step is where your kitchen starts smelling like fall heaven!
Step 4: Simmer and Stir
Let it simmer for another 3-5 minutes, stirring now and then. You’ll see it thicken just a tad, which is perfect for Homemade Pumpkin Coffee Creamer. Don’t walk away, though—I’ve burned a batch before by getting distracted with my phone. Lesson learned!
Step 5: Strain (Optional)
If you’re picky about texture like me, strain the mixture through a fine-mesh sieve into a jar. It gets rid of any tiny pumpkin bits for a silky-smooth Homemade Pumpkin Coffee Creamer. But hey, if you don’t mind a little grit, skip this step!
Step 6: Cool and Store
Let your Homemade Pumpkin Coffee Creamer cool down before sealing it in a jar or bottle. Pop it in the fridge, and give it a shake before each use. I’ve found it mixes into coffee best when it’s chilled, but that’s just my two cents.
Nutritional Information
I’m no dietitian, but I think it’s helpful to know what’s in your Homemade Pumpkin Coffee Creamer, especially if you’re keeping an eye on calories or sugar. Here’s the approximate breakdown per 2-tablespoon serving of this Homemade Pumpkin Coffee Creamer. Keep in mind, this can vary based on substitutions!
- Calories: 60 per serving
- Fat: 4.5g
- Protein: 0.5g
- Carbohydrates: 5g
- Sodium: 10mg
It’s definitely a treat, but a small splash of Homemade Pumpkin Coffee Creamer goes a long way in your cup. I usually stick to a tablespoon or two to keep things balanced.
Healthier Alternatives
If you’re looking to lighten up your Homemade Pumpkin Coffee Creamer, I’ve got some swaps I’ve tried that work pretty darn well. When I’m watching calories or just wanna mix things up, these tweaks keep the flavor without the guilt. Here are my go-to healthier options for Homemade Pumpkin Coffee Creamer.
- Lower Fat: Swap the heavy cream for half-and-half or even almond milk—cuts the fat but keeps it creamy.
- Sugar Substitute: Use a natural sweetener like stevia or monk fruit instead of brown sugar; start with 1-2 teaspoons and adjust.
- Non-Dairy Base: Go for coconut milk or oat milk as the base—I’ve swapped this for dairy-free friends, and it’s a hit.
- Less Sweet: Cut the sugar in half if you prefer a less sweet Homemade Pumpkin Coffee Creamer; the pumpkin still shines through.
These tweaks let you enjoy the fall vibes without overdoing it. Which one are you gonna try?
Serving Suggestions
I love getting creative with how I use my Homemade Pumpkin Coffee Creamer—it’s not just for coffee, y’know! Here are a few ways I’ve served it up that always get a thumbs-up at my house. These ideas will make your Homemade Pumpkin Coffee Creamer the star of the show.
- Morning Brew: Add a tablespoon to your hot coffee or latte for instant autumn coziness.
- Iced Treat: Stir into iced coffee for a refreshing twist on Homemade Pumpkin Coffee Creamer.
- Tea Time: Splash it into black tea or chai for a pumpkin-spiced surprise.
- Sweet Snack: Drizzle a bit over oatmeal or yogurt—my kids go nuts for this!
At my last fall brunch, the iced coffee version was a total crowd-pleaser. How do you plan to enjoy your Homemade Pumpkin Coffee Creamer?
Common Mistakes to Avoid
I’ve made my fair share of oopsies while perfecting this Homemade Pumpkin Coffee Creamer, so let me save you the headache with some pitfalls to dodge. Trust me on this one—I learned the hard way! Here are the top mistakes to avoid with Homemade Pumpkin Coffee Creamer.
- Overheating: Don’t let it boil, or it’ll curdle—yep, I’ve ruined a batch like that.
- Wrong Pumpkin: Using pumpkin pie filling instead of puree adds unwanted sugar and spices; stick to the plain stuff.
- Skipping the Stir: Not whisking enough leaves clumps—guilty as charged on busy mornings.
- Bad Storage: Don’t leave Homemade Pumpkin Coffee Creamer out too long; it spoils faster than you’d think.
Avoid these slip-ups, and you’ll be golden. What’s the weirdest kitchen mistake you’ve ever made?
Storing Tips
Storing your Homemade Pumpkin Coffee Creamer right is key to making it last. I’ve found these tips work best to keep it fresh and tasty. Here’s how to store your Homemade Pumpkin Coffee Creamer properly.
- Refrigerator: Keep it in an airtight jar or bottle in the fridge for up to 7 days.
- Shake Well: Give it a good shake before using; separation is normal.
- Freezer: Freeze in ice cube trays for up to a month—pop out a cube for quick coffee fixes!
In my experience, a glass mason jar works best for that fridge storage. How do you store yours?

Frequently Asked Questions
I get a ton of questions about making Homemade Pumpkin Coffee Creamer, so I’ve rounded up the most common ones. Let’s dive into these FAQs!
Can I make this recipe ahead of time?
Absolutely! I often whip up a batch of Homemade Pumpkin Coffee Creamer on Sunday to enjoy all week. Just store it in the fridge, and you’re good to go.
Can I use fresh pumpkin instead of canned?
Sure thing, if you’ve got the time! Roast and puree fresh pumpkin, but make sure it’s smooth for your Homemade Pumpkin Coffee Creamer.
Is this recipe vegan-friendly?
Not as is, but swap the cream and milk for plant-based options like coconut or almond milk. It works great!
How long does it last in the fridge?
Mine usually lasts about a week in the fridge. Just give it a sniff if you’re unsure.
Can I adjust the sweetness?
Of course! Play with the sugar amount until it’s just right for you.
Does it work in hot chocolate?
Heck yes, it’s amazing in hot cocoa. Try it and thank me later!
Can I double the recipe?
Yep, I’ve doubled it for holiday gatherings. Just use a bigger pot.
Why does mine separate in the fridge?
That’s normal for Homemade Pumpkin Coffee Creamer without stabilizers. Shake it up before pouring!
Conclusion
There you have it, folks—everything you need to make your own Homemade Pumpkin Coffee Creamer and bring those fall flavors straight to your mug. I’m telling you, once you’ve tried this Homemade Pumpkin Coffee Creamer, you’ll be as obsessed as I am. So, grab your ingredients, give it a whirl, and let me know how it turns out—I’d love to hear your twists on this Homemade Pumpkin Coffee Creamer recipe!
Conclusion
I hope you enjoyed this recipe for Homemade Pumpkin Coffee Creamer! It’s truly one of my favorites, and I’m confident you’ll love it too. Remember to follow the steps carefully for the best results. Don’t hesitate to experiment with your own variations and make this recipe your own.
Happy cooking!